I've been putting this off for a while now cause I was feeling a bit timid about pulling apart my headlight and fiddling with wiring. I had a lot of help from a friend from the Shadow Riders who sent me heaps of pics of how he did the same thing recently as well as advising me which kit to get for my bike and numerous other hints .. don't know what I would have done without him, probably not even tried it to tell the truth.
Well it was a matter of just getting out there and doing, I really haven't felt like starting this project but I knew once I started I'd have to finish. First thing to do is to pull off the black plastic covers in front of the tank, they cover the wiring that is going to the front of the bike. Easy, just a screw on each side of the cover then unclip the two halves .. cept that it has been said that to take off this cover you need to take off your tank. Ugh that I wasn't into, I'd been told by my friend that you could take them apart without taking off the tank though, with a bit of fiddling. So I fiddled, then I fiddled a different way, then I worked out how it all worked so I fiddled with a screwdriver. It's a little metal clip that slides onto both halves of the plastic, and I could see either one of those bits of plastic snapping pretty easily if I tried to force it, so I just had to slide one half forward while sliding the other half backwards .. there wasn't a lot of room for the them to move in there but there ended up being enough .. with a little nudge of the clip with a small screwdriver I managed to slide it enough to slip one side out. That was easy .. only took 20 minutes or so ..
It has also been said in some YouTube clip somewhere that I found while trying to find out how to go about this project, that the whole job will take about 20 minutes. They didn't take into account the level of noobness obviously .. it was going to take a lot longer for me to finish, but then it always does the first time you do something new doesn't it.
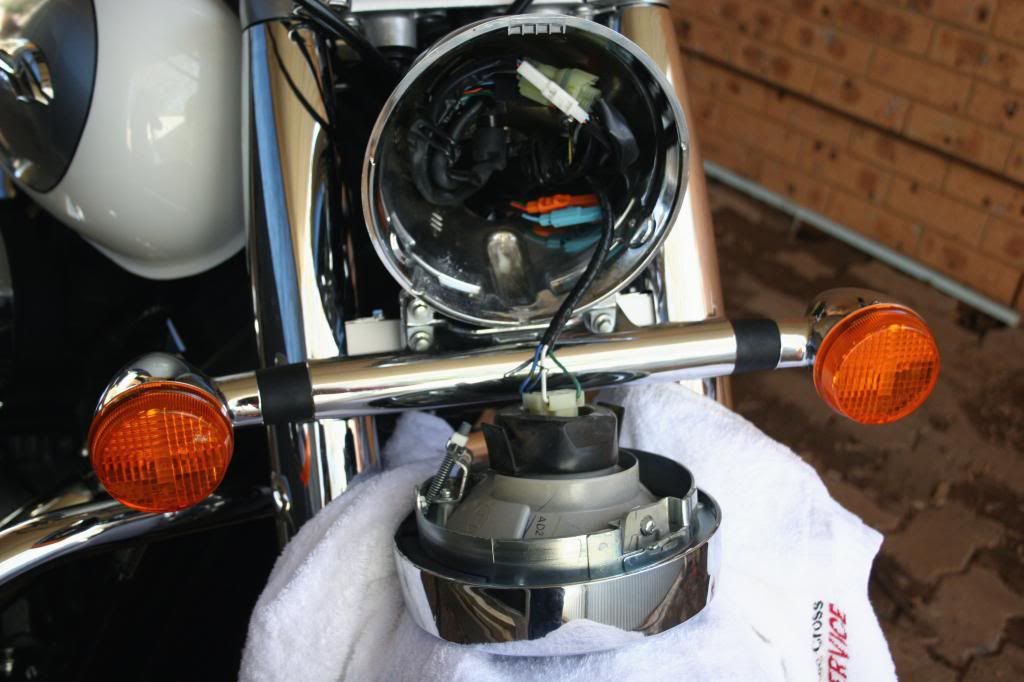
Now I could see a bit more of the wiring, that had been worrying me, I had no idea where anything went or how it all fitted in .. I was starting to get a better picture. Next I pulled apart the light. This would the easy part I thought. Two screws holding the front of the light and fitting onto it's holder .. undo them and the light should just come apart. Should ... I fiddled a bit, pulled a bit, looked at it trying to work out where the clip was, I squeezed while pulling and pushing, I twisted. It wasn't budging. I found another screw, so I started taking it out. I turned it .. and turned it .. then turned it a lot more before I realised I was trying to take out the headlight adjustment screw .. oops. I stopped and went to find my users manual.
After reading 'how to change the headlight globe' in the users manual I then pulled gently on the bottom of the light forward til it came loose then pulled the light down and out. Yeah that was easy.
Looking in there I realised just how tightly the standard stuff was squeezed in, and I had to try to fit yet more wiring and plugs .. not to mention the ballast and relay that came with the kit. This wasn't going to be easy. Here's what I the kit looked like when I got it.
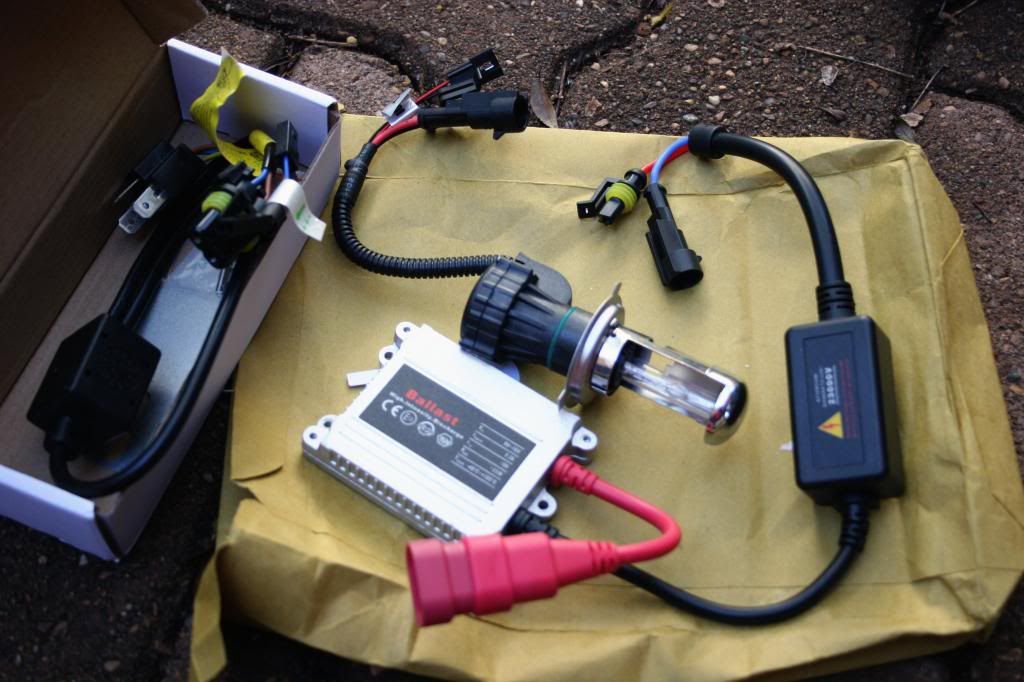
It came with instructions, they were kinda basic and told me that the reason it might not work would either be because the two pin plug was round the wrong way, or the wiring on the three pin plug was different to the plug on my bike, all I would have to do to fix that was rewire the plug .. ugh I was praying it would work first go.
The first thing I had to do though was take out the standard bulb .. should be easy, just gotta pull on this plug .. umm should just need to pull out this plug .. call Terry .. 'hey Babe can you pull this plug outta here for me please?' Get Terry to pull out this plug ... ummm yeah it just pulls out, it says so here in the manual .. there's no clip I swear .. right so I'll have another go .. opps I split the rubber cover over it .. 'what does the manual say bout this rubber thing babe?'
It was just a dust cover, well as long as it's split .... I just peeled it off and got a screwdriver under the plug and managed to carefully prise the plug apart .. sheesh that was a tight fit!!
Finally I got to the moment of truth, I followed the instruction sheet carefully ...

And managed to put the thing together and connect it to my headlight. Turned on the ignition and .. nothing. Oh it's alright, I just have to turn round the two pin plug, that'll fix it. Turn on the ignition and .. still nothing. Oh :( Stand and look at it for a while then reach for the instruction sheet to make sure I was turning the right plug. Yep .. sigh. I started to pull it all apart again, thinking I was going to have to rewire the stupid plug, I really don't wanna do that. When I had it half pulled apart I started to think that maybe when I'd turned the plug, I had turned it a full 360°. I put it together again to try one more time before I had to bite the bullet and get out the soldering iron ... turned on the ignition and .. ta da!!
Yay there's light!!. Now for the part I was really dreading, all this had taken me about and hour and half to accomplish so far. That's including breaks for pics and sitting round reading instructions, not too bad I don't think. I also had to take into account the time that it took to play with the dog for a while. Gizmo the amazing staffy was on hand as always to help, although I think she was more concerned about the bone she has been carrying around for the last couple of weeks. It's worrying when you have an awesome bone and nowhere to bury it .. she found somewhere just as I took a break before tackling the next part of the saga .. putting together the wiring jigsaw puzzle.
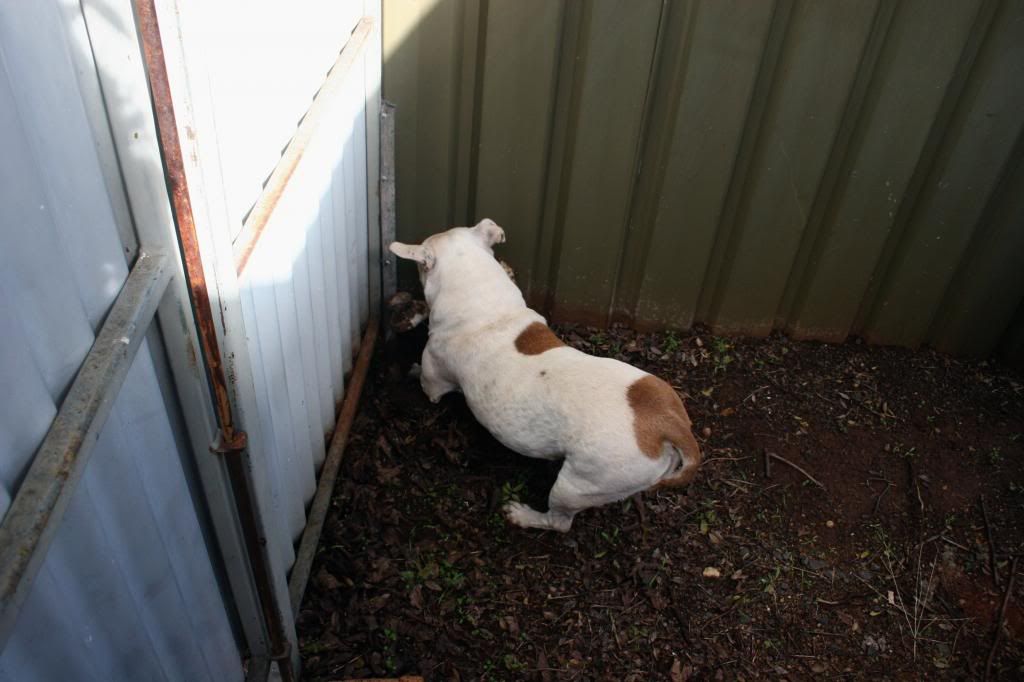 |
| That's Giz with a bone nearly as big as her digging a hole in a nice inconspicuous corner. |
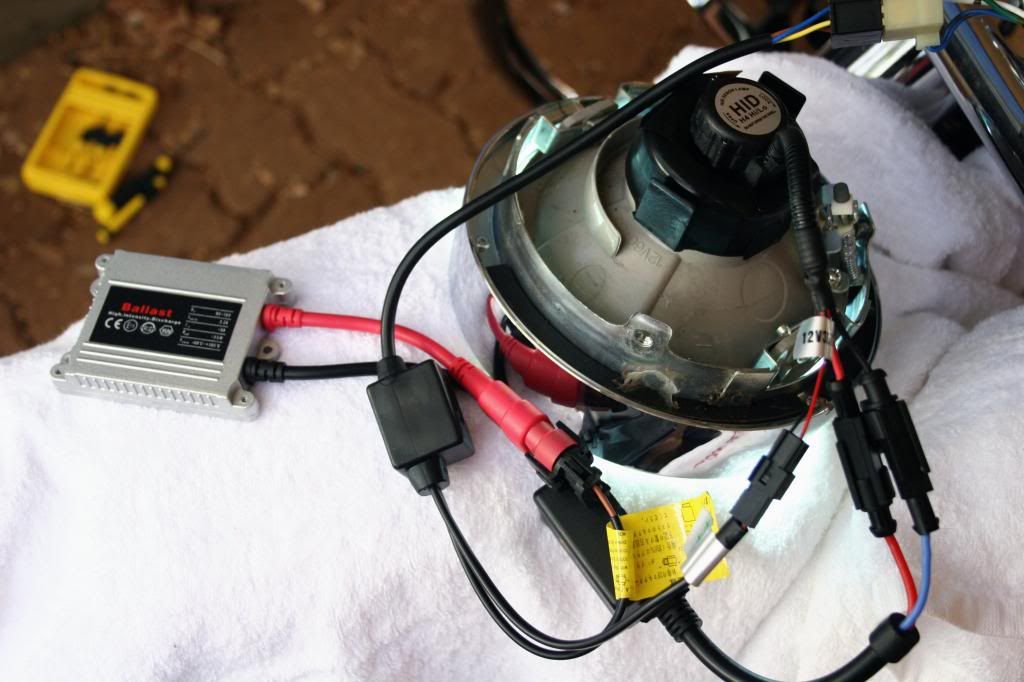
After arguing for about 10 minutes with the little screws that hold the headlight together, not to mention the fun of chasing round the little plastic dress rings that go round those screws after they drop out of the holes about 20 million times (OK I exaggerated a bit), I tested it again before working out what to do with the ballast and relay that were now hanging in the breeze. It still worked .. this is going great!
The ballast comes with a little plate and screws to mount it somewhere, there was just nowhere that it would fit with the plate on it, so I used zip ties and put it behind the plastic covers that I'd taken off first, it fit snugly in a little spot behind there and with three zip ties it didn't look like it was going to move. Unfortunately I put the covers back on next before thinking to take a pic of my ingenuity, so I just snapped a pic of where I would zip tie the relay alongside the wiring.
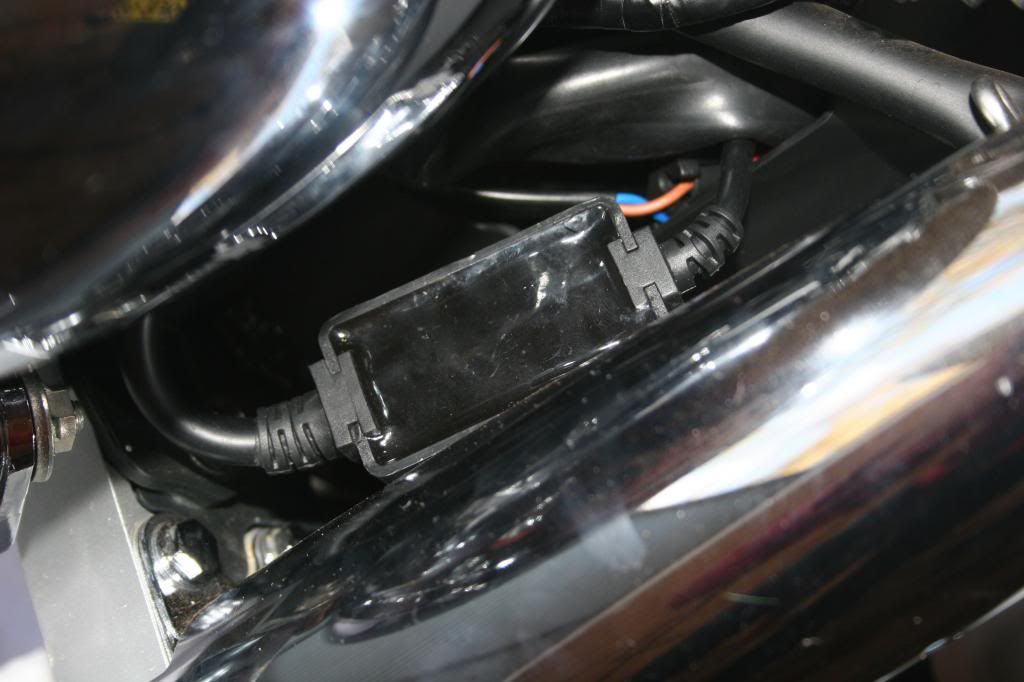
You cant even tell it's there. I was pretty impressed with my handiwork by now. All I had to do was test the light one more time then adjust the beam.
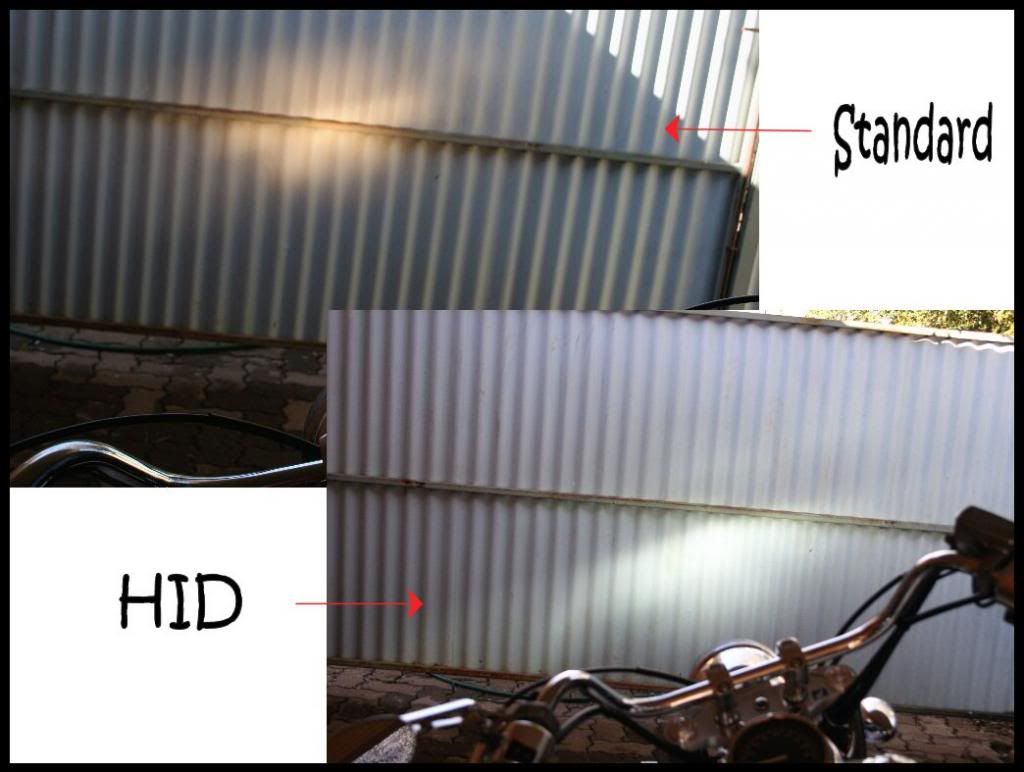
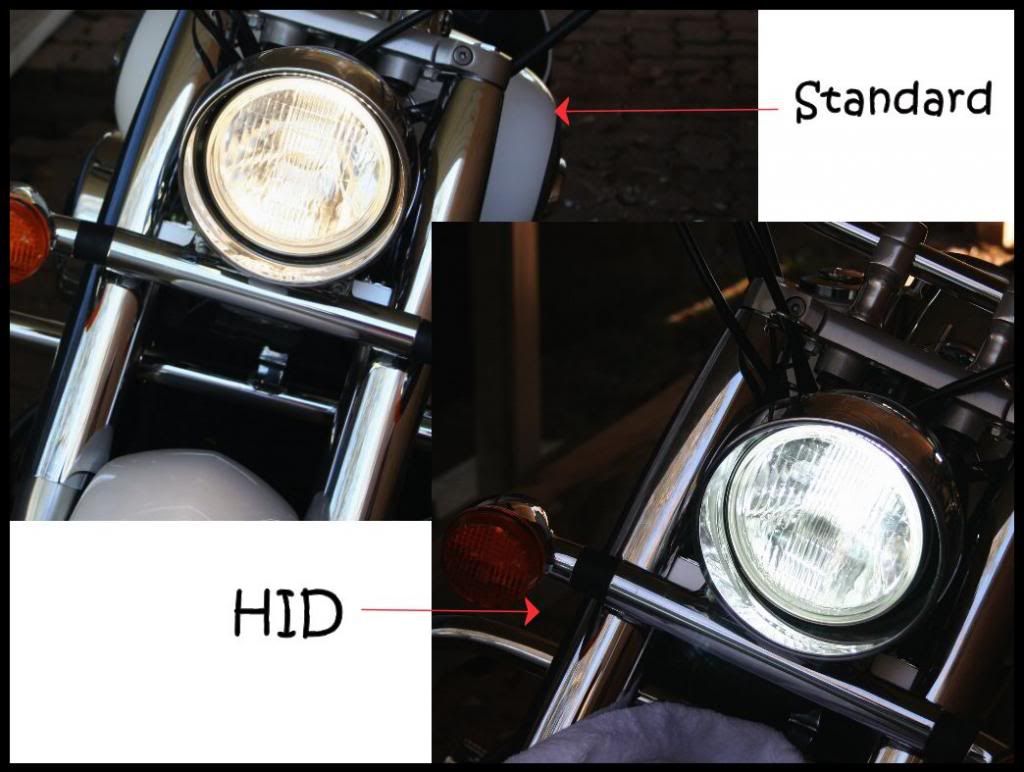
Here's some comparison photos of the standard light against the HID light.
It's a lot lower, time to find that adjustment screw again. I turned it and nothing happened, it turned but the light didn't seem to be moving at all. I know I'd been turning it for ages before so I played with it for a while before starting to get a bit annoyed that nothing seemed to be happening. I looked into the light .. now that's a dumb thing to do .. I turned off the ignition then looked at the light. If you look carefully at the HID photo in the comparison below you will notice that the light seems to be sitting very off centred in there. Yep I'd unscrewed the adjustment screw so much that it had all let go .. sigh, I pulled the light apart again.
I worked out how to get the screw seated properly and straightened the light before struggling and swearing for a while at the stupid jigsaw wiring trying to get it all to fit in there again, then chased around the stupid little plastic dress thingy for a bit before losing one, then Terry came out to help me to swear at it all for a while and found the stupid little bit of plastic that I was just about to leave out in disgust .. then Terry ran from the abuse that was being poured on the poor little plastic thing while I screwed the silly thing back where it belonged. Sigh .. I'm exhausted by screws and silly bits of plastic. But ..
It's all together now, it's so much brighter than the standard light that it was actually worth it all. Not only is my vision at night going to be better, but my visibility to other road users will be improved too. It was a longer job, as it often is for me, than other people might make it, but it's all practise and that's always handy. I have other things to fit up this end of the bike, and I need to get familiar with all this stuff. I'm also going to fit a new light bar with driving lights and brighter indicators. I'm hoping to get those next week. Then as far as I'm concerned the lights on my bike will be complete, the blinkers will match the ones that I put on the back when my original ones rusted. So not only will I be visible and safe, Roxy will be looking sexy. Win - Win in my books.